Hey everyone, I hope you are having an incredible day today. Today, I’m gonna show you how to make a distinctive dish, torting, levelling,and layering a cake. One of my favorites food recipes. This time, I’m gonna make it a bit tasty. This will be really delicious.
Many cake bakers level their cakes before stacking the layers. Leveling, also known as "crowning", means cutting the dome or To cut one cake into two or more layers, often called "torting", use a cake leveler or knife to cut multiple even layers. Once you know how to level and tort your cake, you. Torting the cake is when you divide the cake horizontally into layers so that you can add a filling and stack the layers evenly.
Torting, levelling,and layering a cake is one of the most well liked of recent trending meals in the world. It is simple, it is fast, it tastes delicious. It’s appreciated by millions every day. Torting, levelling,and layering a cake is something that I have loved my entire life. They’re nice and they look fantastic.
To get started with this particular recipe, we must first prepare a few components. You can have torting, levelling,and layering a cake using 8 ingredients and 12 steps. Here is how you can achieve that.
The ingredients needed to make Torting, levelling,and layering a cake:
- Get Cake
- Get Equipment needed
- Take Ruler
- Make ready Saw knife
- Make ready Pallet knife
- Take Toothpick
- Make ready Turntable.. Optional but necessary
- Get Whipping cream/buttercream
There are two main methods for torting cakes: using a Cake Leveler or using a serrated knife. I prefer the Cake Leveler method because it's ultra failproof. Well, I mean you could technically bake your cakes then make your buttercream but we had to pick an order so we did. Prefer to use a box mix?
Steps to make Torting, levelling,and layering a cake:
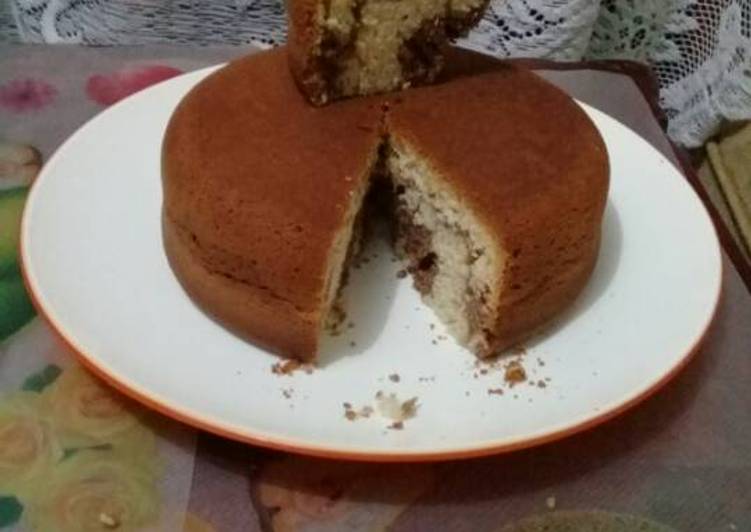
- Bake your cake.. Let it cool before removing it from the pan. Mine was a 2 kg red velvet baked in two tins
- Using a ruler, measure the height of your cake…mine was 4 cm so I put my tooth pick at the 2 cm mark
- It is important to level your cake if it has a dome
- Gently,saw through the cake with your saw knife..cut through the cake till the other end
- I ended up with four layers…simple syrup them and get ready to assemble your cake
- I use glucose syrup to hold the cake on the board… You can use butter or whipped cream
- Apply a layer of frosting on the first layer
- The second layer…followed by the frosting
- Do so till the last layer.. Crumb coat and chill for about 10 minutes
- Add second layer of frosting.
- Smoothen and decorate as you please
- Get creative…follow clients instructions if any
Well, I mean you could technically bake your cakes then make your buttercream but we had to pick an order so we did. Prefer to use a box mix? Cool, no problem, but there are a couple of things you need to do first to yield a cake that will be workable at a professional. You can create a perfectly even surface by leveling your cake. This technique makes it much easier to ice and stack layers.
So that’s going to wrap this up with this special food torting, levelling,and layering a cake recipe. Thanks so much for your time. I’m confident that you can make this at home. There is gonna be interesting food at home recipes coming up. Remember to save this page on your browser, and share it to your family, colleague and friends. Thank you for reading. Go on get cooking!