Hey everyone, it’s Jim, welcome to our recipe page. Today, I will show you a way to make a distinctive dish, chocolate peanut marble cake | cooker cake | its my bestie birthday. It is one of my favorites. This time, I will make it a little bit tasty. This is gonna smell and look delicious.
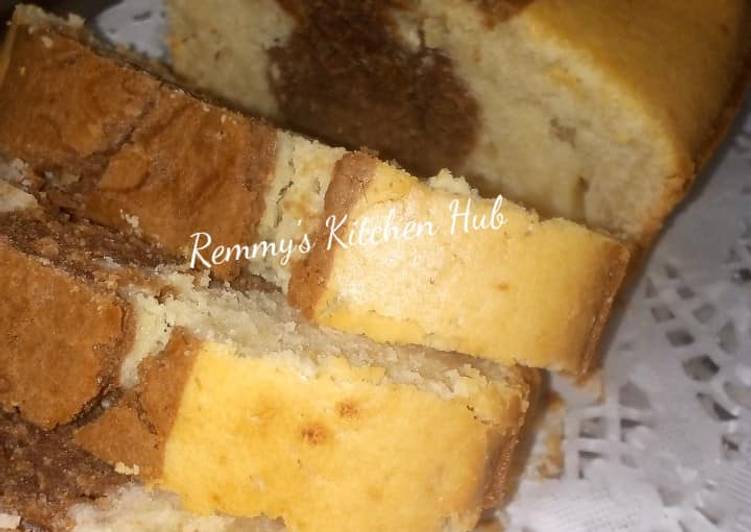
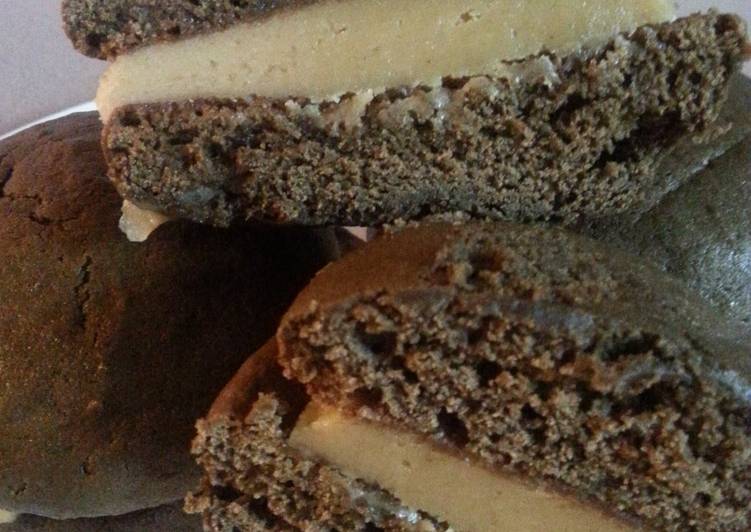
Chocolate Peanut Marble Cake
To begin with this particular recipe, we must first prepare a few ingredients. You can cook chocolate peanut marble cake | cooker cake | its my bestie birthday using 9 ingredients and 7 steps. Here is how you cook it.
The ingredients needed to make Chocolate Peanut Marble Cake | Cooker Cake | Its My Bestie Birthday:
- Make ready Whole wheat flour – 1 & 1/2 cups
- Prepare Brown Sugar
- Prepare Cocoa powder
- Make ready Milk
- Take Baking powder
- Make ready Homemade peanut butter
- Make ready Oil
- Get Chocolate sprinkles
- Get salt
Instructions to make Chocolate Peanut Marble Cake | Cooker Cake | Its My Bestie Birthday:
- Dry Ingredients : Sieve flour, baking powder and salt. Mix well and keep aside. - Wet Ingredients : In a grinder mix sugar, oil,and milk until smooth mixture. - Mix both mixture together and mix well. - Put 1/2 prepared batter into a greased baking pan. Then add 2 tbsp of peanut butter and with the spread it with the help of fork.
- Then again put remaining batter and then peanut butter. Spread it with the help of fork and sprinkle chocolate chips. - Tab the cake pan on a countertop to release any large air bubbles.Put the cake pan into the preheated pressure cooker and bake it for 1 hour.
- Tips : - Don’t over mix the prepared batter. - Don’t demould quickly allow it to cool down completely. - Baking time may vary. - If cake batter looks dry, add 2- 4 tbsp of milk. - If baking in Oven: Bake in the preheated oven at 180 deg Celsius or around 360 Fahrenheit for about 1 hour. The baking time may vary. So keep checking the cake after 40 to 45 minutes.
- Pressure Cooker Method: - - Grease the baking tin with oil and dust it by sprinkling whole wheat flour over greased surface evenly. Pour the mixture into the greased baking tin. - - Important Notes: - - Use the baking tin of 6 inches in diameter, so that it can easily get into the pressure cooker. - Use a 5-liter pressure cooker. It should be big enough to hold the baking pan. - Baking Tin should be made of Aluminium.
- If baking tin comes into direct contact with the base of the pressure cooker, it can burn (overbake) the cake. So use a pressure cooker container which has big holes in it or any aluminum small stand. - No gasket and whistle are needed. Remove them before baking. - Don’t add water to the pressure cooker.
- How to Bake In A Pressure Cooker? - - Heat the pressure cooker on high heat for 2 minutes. Use sea salt or sand as a layer inside a cooker. Put a steel stand on a layer of salt or sand. - Now put the cake tin containing the cake batter (Do not put water inside the pressure cooker). - Close the pressure cooker lid and do not put the whistle on the lid. Remove the gasket (rubber ring) from the lid.
- Lower the flame after 2 minutes. Let it bake for 50 -60 minutes on low flame. After 60 minutes check the cake with a knife, if the mixture does not stick, it means the cake is done. - If batter still sticks to knife then again bake for another 10 minutes. Do not open the lid immediately. - Eggless Pressure Cooker Cake is ready.
So that’s going to wrap this up for this special food chocolate peanut marble cake | cooker cake | its my bestie birthday recipe. Thanks so much for your time. I’m confident that you can make this at home. There is gonna be more interesting food in home recipes coming up. Don’t forget to bookmark this page on your browser, and share it to your loved ones, colleague and friends. Thank you for reading. Go on get cooking!